
- Josh loves green tea
- I prefer black tea, but usually I'd rather drink coffee
- Josh hates coffee
 So I might as well learn how to make the perfect cup of tea, to make those stolen moments that much more enjoyable. And, you know, just in case Violet, Dowager Countess comes to visit.
Our first Dining at Downton post is concerned with that most basic of aristocratic skills: brewing tea. It's a little more involved than boiling water; in fact, the ritualistic aspect of it is probably the best part. Plus, you get to indulge in fancy china! (Pro tip: Anthropologie has beautiful tea services.)
Afternoon tea is a staple at Downton Abbey. In the 19th century, well-to-do Brits adopted the custom of taking afternoon tea as an elegant snack. You'd drink tea, eat sugary biscuits and tiny sandwiches, and catch up on all the latest gossip. As devotees of Downton Abbey know, afternoon tea is fraught with import, whether it's because the girls are planning how to find eligible bachelors, or because middle-class Matthew Crawley is discovering that he'll be waited on hand and foot at Downton. (In a later post, we'll discuss how to create a full afternoon tea meal.)
Little has changed about brewing tea since Queen Victoria's times, when afternoon tea first became a custom. So for instructions, I turned to Mrs Beeton's Book of Household Management, which was the authority on cooking and housekeeping in 19th century Britain.
Mrs. Beeton claims that "[t]here is very little art in making good tea," but nevertheless provides detailed instructions for the brewing process. Here they are, updated for the modern reader.

You'll need:
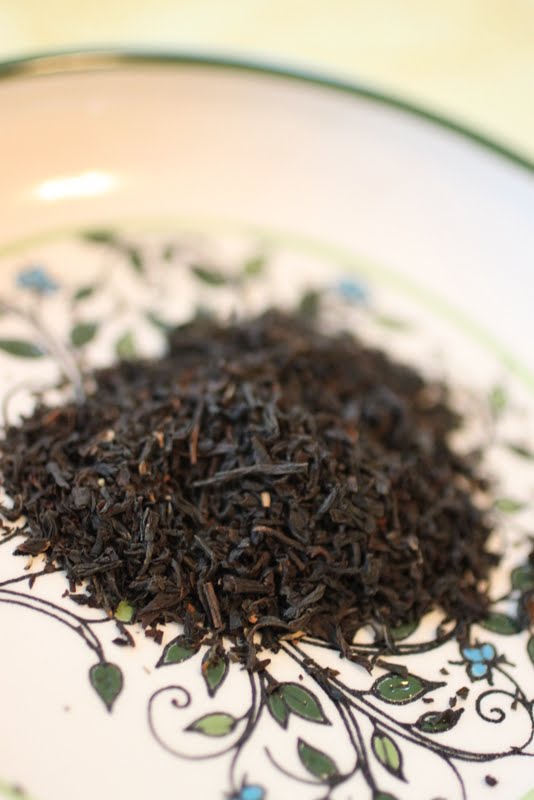 |
| loose tea |
- 1 large teakettle for boiling water
- 1 smaller teapot for brewing the tea
- loose-leaf tea (1 tsp per person, plus 1 for the pot)
- teacups and saucers
- 1 tea strainer
- milk, cream, and sugar as desired
When the china teapot is warm, pour the water back into the larger teakettle. If you'd like, reheat it so it's freshly boiled. Measure the loose tea into the china teapot, then pour the boiling water back in. Cover and let steep for 5-10 minutes. This is very important, according to Mrs. Beeton; otherwise the leaves won't open, and "the beverage will consequently be colourless and tasteless."
When you're ready to pour, set the strainer over the teacup to catch any loose tea. Pour, and doctor with milk, cream, and/or sugar as you like.

My perfect cup of tea: Earl Grey with a bit of cream, no sugar.
What's your perfect cup?


