Monday, June 18, 2012

Entire wheat bread

Growing up, my parents shared parenting and household responsibilities pretty equally. But there were a few things that only my dad did (and still does):

  • grill
  • tap trees and boil sap for maple syrup (though we all helped)
  • bake bread

It's this last one that I always associate with him. Whenever he has some time off from work, or we're on our annual vacation in Ontario, Canada, you can find my dad in the kitchen. His creased Beard on Bread book opened to his favorite recipe (cracked-wheat or raisin bread), he'll have the counter cleared and dusted with flour, a smooth dough laid out for kneading. He takes his time with the dough, kneading it for ten minutes as James Beard suggests, and he makes sure the temperatures are just right so he doesn't kill the yeast. His loaves are light and fluffy, with a tender crumb, perfect for toasting and buttering for breakfast. They're the product of years of trial and error.


My dad is the one who taught me how to bake bread. It's the one cooking/baking technique that I distinctly recall learning. He told me how to touch the side of a pan of warmed milk to see if it was the right temperature before stirring in yeast. (They're delicate organisms, yeast.) He reminded me to obey recipe instructions to the letter. He taught me how to press down on fresh dough with the heel of my hand, then turn and fold and press again, to knead it perfectly. He reminded me to heat the oven just barely before putting in the dough to rise. He showed me with every recipe how carefully you have to watch the dough to make sure it rises enough, but not too much.

Whenever I make bread now, I think about my dad and his baking lessons. I have my own trusty copy of Beard on Bread (just a few years old), as well as two scratched loaf pans he lent me. I groan when I have to knead the dough the first time for ten whole minutes, but that's what you need to get the yeast evenly distributed (according to James Beard). And it's what my dad said, so that's what happens.

Still, I have a ways to go. I get impatient with the second rising and neglect to wait until the loaves are fully risen to start baking. I've killed at least one batch of yeast in the past few years. And the crumb isn't quite right.

But I'll keep trying.


This first recipe from The "Settlement" Cook Book is a basic one. Essentially it's whole-wheat bread ("entire" being a different way of saying "whole," I assume). It's called "entire wheat" in contrast to graham flour, which is wheat flour that's been ground differently so it's coarser. Apparently Mrs. Simon Kander was a huge fan of graham flour (healthful and diet-reforming flour that it was). But I'd just bought 5 pounds of whole-wheat flour, so I made "entire wheat bread" instead.

It's a dense, toothsome loaf, perfect for slathering with butter or jam. It's barely sweetened by the addition of molasses, and it feels much more healthful than other kinds of whole wheat bread, since there's no butter. Additionally, Kander tells us not to let the loaves quite double in size on their second rising, so they bake up small and dense. I'm not sure if that's the way they should be. Maybe that's due to the whole-wheat flour?

I should probably ask my dad.


Entire Wheat Bread
(adapted from The "Settlement" Cook Book and Beard on Bread)

2 cups milk
1 package active dry yeast
1/4 cup lukewarm water
1/3 cup molasses
1 tsp salt
4 2/3 cups whole wheat flour, plus more for kneading

Over medium-high heat, scald the milk (heat it until bubbles form around the edges of the pan, then remove from heat). Meanwhile, dissolve the yeast in the lukewarm water. You can test the water by dipping a finger in it or touching the side of the bowl; if it's a comfortable temperature, you can add the yeast. You'll know the yeast is proofing if bubbles appear in the yeast-water mixture.

Add the molasses and salt to the milk and let cool. Once the milk mixture is lukewarm (again, touch the side of the pan; it should be warm but not hot), add the yeast mixture.

Transfer the liquid to a large bowl and add the flour, one cup at a time, beating until well incorporated. It will get harder to beat by the third or fourth cup of flour, and you might have shaggy bits of dough that refuse to mix in. That's fine. Once the dough is pliable, transfer to a clean, floured space (like the counter), along with the rest of the floury bits. Knead for ten minutes until most of the bits of dough are well incorporated and the dough is elastic.

Butter a large bowl (you can use the same one, just rinse it out) and place the dough in the bowl, turning to coat with butter. Cover and let rise in a warm place until doubled in bulk, about an hour.

Once the dough is risen, punch down and form into two loaves. Place the dough in two buttered loaf pans. Cover and let rise until not quite doubled in bulk, about 45 minutes.

Preheat the oven to 425 F. Bake the loaves for 10 minutes, then reduce the heat to 375 F and bake for 20-25 minutes more, or until the loaves sound hollow when you tap the crust.

Friday, June 15, 2012

One year


Dear blog,

You are one year old today. To celebrate, I doctored this photo of a decidedly unhistorical chocolate beet cake. I hope you like it.

It's been quite a year! In one year of blogging, I have...


Dear blog, it's been much more fun having lovely readers along for the ride. Truly, thank you for reading, friends. It's such a blast to discuss historical cooking methods and weird foods with you.

Here's hoping the next year is just as fun!

Love,
Abby

Tuesday, June 12, 2012

Book Three: The "Settlement" Cook Book

We've gotten to know colonial Williamsburg pretty well, so I figured it might be time for a new cookbook. We'll still return to colonial (and perhaps prairie) days, though, so don't worry.

Our next book is The "Settlement" Cook Book by Mrs. Simon Kander (Lizzie Black Kander) and Mrs. Henry Schoenfeld, originally published in Milwaukee, Wisconsin in 1903. The copy I have is a 1987 facsimile of the original, so it's got all the advertisements you'd find in a typical turn-of-the-century cookbook. To wit:


I love those kinds of things.

Also, to be completely up-front with you, the whole title of the book is:

The "Settlement" Cook Book
1903
The Way to a Man's Heart

Yes. They went there.

(To be fair, it was 1903. If you were a young woman, you were likely to work a few years until you got married, and then you'd stay home to look after your husband and growing family. And romantic love was highly prized. So perhaps cooking held an elevated status.)

I'll tell you a little bit about this book, and we'll save the in-depth history lesson for later. At first glance, this cookbook is much different from the Williamsburg Art of Cookery, for two reasons.
  1. Most recipes are preceded by a list of ingredients, plus the specific amount of each ingredient to use. Wonder of wonders! We don't have to guess any longer!
  2. A lot of the recipes are for German or European food. Kugel! Apple strudel! An entire chapter on kuchen! You aren't likely to find any German immigrants in colonial Virginia.
Why do we see a number of European foods now? As it turns out, the author, Lizzie Black Kander, was the president of Milwaukee's first settlement house. These settlements were founded by middle-class women who wanted to get out of the house and help immigrant women and children adjust to life in America. Much like other settlements, the Settlement of Milwaukee offered classes in English, music, and cooking. Kander devoted herself to helping women assimilate through cooking, and the culinary classes were so successful that the Settlement eventually published this cookbook.

So this is definitely a change from colonial times. And I'm excited about it. Even though it makes me feel like I'm going against my personal feminist convictions by following "The Way to a Man's Heart."

since I lack a milkman, apparently I lack a home as well

Friday, June 8, 2012

Kitchen garden (II)


An update on the garden:

  • The tomatoes are flourishing, after being re-potted to deeper pots and staked with bamboo and sisal. (I think it looks rather pretty, don't you?) However, I originally planted three per pot, and since none of them died off, that meant they would eventually compete for light and water. So the other day I had to decide which plant was the weakest link and pull it from the pot. It gave my heart a pang to do it. My dad calls it "playing God." Josh calls it "the Sophie's Choice of gardening." While they're both accurate, I think the latter description captures the pain of it.

  • I sprouted some sugar peas and now they're going great guns, which makes Josh happy because he loves peas and I tolerate them. "You're growing peas for boys!" he says. Personally, my favorite part so far is the way they grasp onto the sisal with thin tendrils. They're little but strong, those pea plants.

  • My lettuce is by far the weakest link of everything I've planted. First animals dug them up, and now they're thinning out by themselves. I might have to call it and purchase some starts at the farmer's market on Saturday...but I hate admitting defeat.

  • The herbs are doing well. Lemon balm is under the grow light, and basil is flourishing on the windowsill. At least there will be flavor this summer!

  • Finally, there are strawberries-in-a-bag that I replanted in a regular pot. They sent up one squat sprout, and since then, nothing. Maybe if I move it to a sunnier spot...that sure did the tomatoes wonders.

It's funny, I was never much for gardening before this spring. I dreamed of having a garden one day, but it wasn't until I actually had plants to care for that I found out what all the fuss was about. You think about your plants like they're your children (or your pet dwarf hamsters). You dote on them. You worry about them when you're at work and the sky threatens rain and thunder. Suddenly, you're happy to spend a half hour or more just looking at them, marveling at the way the pea shoots curl around their stakes. How do they know how to do that? It's fascinating.


A few days ago I finished a wonderful YA novel, The Wicked and the Just by J. Anderson Coats. It's set in Wales circa 1294, and tells the story of Cecily, an English girl who's moved to occupied Wales against her will, and Gwenhwyfar, a Welsh girl who's just trying to stay alive now that the English have taken away everything she knew. There's so much to love about this novel, from the strong, distinct voices of the two girls, to the dual narrative that gives you just enough information, to the masterful way the author describes her setting and makes you see, hear, and smell medieval Wales. But one passage in particular gave me pause for thought.

One of the few pleasures Cecily finds in her new home is planting her own kitchen garden, full of tansy and rue and other medieval-sounding plants. Here, when she's sowing her garden afresh after a hard winter, she captures the very feeling I've been experiencing with my own garden:
"But there's something about coaxing life from ground that shrugs at you, that makes you tend it with fish guts and holy water, coddling it as if it's an old sick hound. It matters more. You harvest every blade and seed and grain. You cherish what the earth bestows."
While I coddle my plants with organic plant food and tap water, the feeling's the same: I cherish those plants as if they were beloved pets. It's magical.

If you've planted a garden this spring, how are your plants coming along?


Previously:

Tuesday, June 5, 2012

Chowder, a sea dish

Despite the cold, rainy weather (in June, no less), I have summer on my mind.

The beach, in particular.


Having grown up in Ohio, where the only large body of water was Lake Erie (of questionable cleanliness), I was excited to move to a place called the "Ocean State." Little Rhody is such a tiny state that you can get to the ocean in about half an hour or less. But for some reason, in the three years I've lived here, I've only made it to the beach a handful of times.

It's shameful, that's what.


But no more. This summer, it's going to be all about the beach. As soon as the weather warms up.

And in the meantime, I'll just stare longingly at these photos that I took down in Matunuck last June, on my birthday trip to the beach with Josh and my sister.

And I'll make chowder.


This is one of the better Williamsburg dishes, friends. And so deceptively simple. You chop up some onion, parboil some salt pork (it's back!), soak some crackers in milk to soften them up. In a small dutch oven, you layer slices of firm white fish on top of the salt pork, and sprinkle the onion and mashed crackers on top. Cover with crisp white wine and water, and simmer for 40 minutes. You can thicken the gravy if you'd like--the recipe describes this as more of a fish dish with gravy than as the thick stew we've come to know as chowder--but you don't have to. It tastes delicious all the same. Redolent of the sea and scented with wine, it's just the warming meal to eat on a chilly June afternoon while you wish for summer to actually get here.

Now I'm off to grade some history exams. And perhaps have another bowl of chowder.


Fish Chowder
(adapted from The Williamsburg Art of Cookery)

6 oz firm white fish, cut in six-inch pieces
1/2 cup salt pork (about 3 slices), cut in small pieces
1 small onion, chopped
10 - 12 wheat crackers
milk to cover the crackers
1 cup white wine
1 cup water
1 tbsp flour
1 tbsp butter
1/3 cup parsley, chopped

Set the crackers in a bowl and pour the milk over to cover. Set aside.

Fill a small saucepan with water and set over high heat. When the water boils, drop the salt pork into the water and cook until foam forms on top, about 2 minutes.* Pour off the water and scatter the pork pieces around the bottom of a small dutch oven.

Cover the pork with the pieces of fish, and scatter the chopped onion on top. Pour the milk off the wheat crackers and crumble the crackers (they'll be mushy) on top of the fish mixture. Pour the wine and water on top.

Heat the dutch oven over high heat until the liquid boils, then turn the heat down to low and cover. Simmer for 40 minutes, or until the fish is in pieces and cooked through. Remove the dutch oven from heat, and using a slotted spoon, remove all the fish, pork, and onion from the pot.**

Heat the remaining liquid over high heat and whisk in the flour, butter, and parsley. When the liquid boils, turn off the heat and put the fish, pork, and onion back in the pot. Give it a good stir and serve with more wheat crackers.


* This is my interpretation of the vague instruction "about half boiled," since parboiling worked out so well before with salt pork.

** This is the other place where I made up my own instructions--apparently the fish should still be in one piece, but that was not the case for me. Perhaps that's because I used tilapia, which isn't the firmest fish in the sea.

Friday, June 1, 2012

Tips for housekeeping in the 18th century


1. Save all your wood ashes. You can gather them in a barrel and pour water over them to create lye. (See no. 2.)

2. Save all your cooking fat. You can boil it with the lye to make soap! Yes, people really got clean with this kind of soap.

3. Dip the hem of your skirt in water. You don't want to catch on fire while you're innocently checking the stew. Sadly, this was one of the main causes of death for women in the 18th and early 19th centuries. (The other one was childbirth.)

4. Store your baked goods in a pie safe. No refrigerator? No problem! All you need is a cupboard with punched-tin siding for ventilation (and make sure the rough edges of the holes face outwards, to discourage bugs). You can store your perishables on a shelf in the pie safe.*

5. Make sure your bake oven is the right temperature. Once you've let the bake oven fire burn down to ashes, toss some flour in there to see if it's ready for bread. If the flour burns in ten seconds, you're good to go.

6. Bake your goods in the right order. If you've taken the time to heat up the bricks of your bake oven, you don't want that heat to go to waste. Bake your bread first, when the oven is the hottest. After the bread is finished, bake your pies and cakes. Save the cookies and biscuits for last, since they only need a little heat.

7. Keep a cup of water nearby in case you get too hot. While you may be working over a hot fire all day long (even in the summer!), you're wearing at least two petticoats and a full dress, plus an apron and a corset. Otherwise you wouldn't be proper.

8. Be prepared to smell like wood smoke. All the time.**


* Okay, pie safes are really a 19th-century invention (from the Pennsylvania Germans). But it's still a good tip.

** When I worked at the living history museum, I found that the smoke got everywhere. Your hair, your underclothes, your skin. It didn't matter if you changed before you went home. I would be clearing the dinner table and think for a moment that someone had lit a fire in the middle of summer...until I realized that no, it was just me.


Previously:

Wednesday, May 30, 2012

Corn pudding


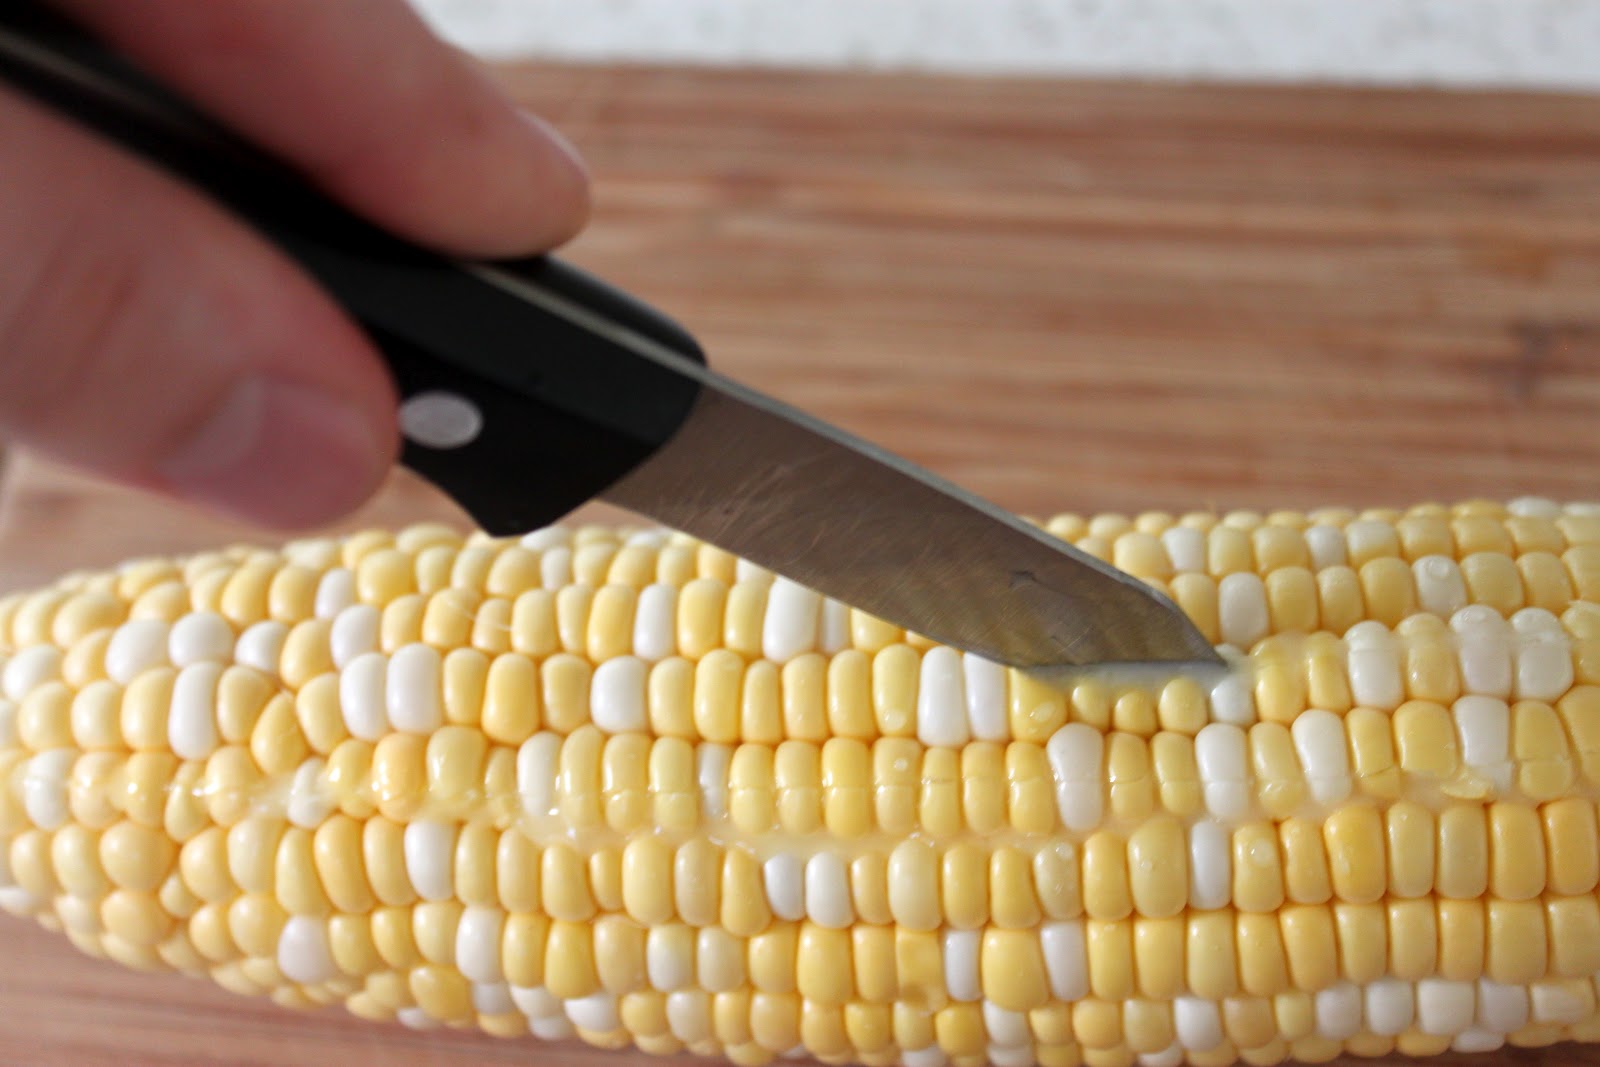
There's nothing that says summer quite like corn. Corn on the cob, scorched with grill marks, dripping with butter. Husks that remind me of bark stripped off a tree. Corn silk that seems to get stuck everywhere, from your teeth to the counter where you've been working.


And isn't it a beautiful vegetable? Just right for late-afternoon photo shoots.

I've written about my love of cornbread before, but this time it's all about straight-up corn, before it's been ground into meal. This is a different kind of love, friends.


Really, it makes sense that we'd come across corn sooner or later. There's so much historical weight attached to corn. It was the crop that Squanto taught the Pilgrims how to plant after a particularly harsh first winter. Native Americans traditionally grew maize, squash, and beans together as the Three Sisters crops. And apparently it was also the crop that saved the lives of the first Virginians (once they stopped being stubborn and decided to learn how to farm). Plus, corn is native to North America, so it was a revolutionary crop to those European colonists.

So why couldn't the colonial Virginians come up with a better way of serving corn?


It's a promising recipe. "Take six large, tender, milky Ears of Corn. Split the Corn down the Center of each Row; cut off the Top and then scrape the Cob well." I dare you not to steal a few pieces of corn once you've cut it off the cob. Then you mix it up with flour, salt and pepper, eggs, and milk, and bake it into a steaming pudding. When it comes out of the oven, brown and bubbling from the butter you put on top, it's hard not to dig right in. You eagerly anticipate that first taste.


When I was young, sometimes we would have microwaveable meals for dinner. Lean Cuisine chicken marsala, Stouffer's creamed spinach. Sometimes my parents just wanted to round out the meal, so they'd heat up a packaged side dish. That's fine. Sometimes it's all you can manage.

One of the dishes in regular microwave rotation was Stouffer's corn souffle. It was kind of a spongy pudding made with corn, light and airy. And guess what, friends.

I've replicated that corn souffle. Except instead of the 15 minutes it took to heat up the plastic container, this took a good 1 1/2 hours. And a historical cookbook.

It's not to say that this is a bad corn souffle. It's light and airy and corny and accompanies other dishes quite well. But as Josh so eloquently put it, it's like "corn with mush in between," a cross between straight-up corn and cornbread. We both would have preferred to eat one or the other.

So, because it seems worth it to start a tally:

historical corn recipes: 0
dashed culinary expectations: 2

Maybe I just need to stop expecting so much from corn. It's just a vegetable, after all.


Corn Pudding
(adapted from The Williamsburg Art of Cookery)

4 ears of corn
2 eggs
1/4 cup flour
1 1/2 cups milk
salt and pepper, to taste
2 tbsp butter, cubed

Preheat the oven to 350 F.

Shuck the corn and slice each row down the middle (it doesn't take as long as it sounds, but you will get splashed). Slice the kernels off the cob. It's okay if you don't get the whole kernel in one go. Put all the sliced corn into a large bowl.

Beat the eggs together in a separate bowl and mix with the sliced corn. Add the flour, milk, and a dash of salt and pepper. Beat to combine.

Grease a souffle dish (or an oven-safe dish that's about 4 inches deep). Pour in the pudding mixture, and top with dots of the butter. Bake for 60 - 75 minutes, or until the pudding is puffed, brown, and bubbling on top.